

Key Takeaways
Start here
What Home Improvement Actually Means for Beginners
Next
Your Starter Tool Kit: What You Actually Need
Then
Safety Basics Before You Touch Anything
When you're ready
How to Read a Project Scope
Before you commit
Knowing When to Stop and Call a Professional
What Home Improvement Actually Means for Beginners
Home improvement spans everything from touching up paint to gut-renovating a kitchen - which is exactly why beginners often freeze before starting. The practical entry point isn't a big project; it's understanding which tasks belong in your hands and which belong in a professional's.
For most new homeowners, the useful mental model is a simple tiered list: cosmetic work (painting, patching, caulking, hardware swaps), maintenance tasks (replacing filters, cleaning gutters, sealing gaps), and system work (electrical, plumbing, structural). The first two tiers are where beginners build skill. The third almost always involves permits, inspections, and licensed tradespeople. See our guide to projects requiring a licensed professional for a detailed breakdown of where that line falls.
Understanding this framework up front prevents the most expensive beginner mistake: starting something and discovering mid-project that it required a permit, a specialist, or skills you haven't developed yet. Our pre-project checklist can help you avoid that scenario entirely.
Project scope
A clear description of what a project includes - the tasks involved, materials needed, and the defined start and finish point. Knowing your scope prevents mid-project surprises.
Load-bearing wall
A wall that supports the weight of the structure above it. Removing or altering one without proper engineering and permits can compromise the structural integrity of your home.
PPE
Personal Protective Equipment - safety gear like gloves, goggles, and respirators worn to protect yourself from injury or exposure to hazardous materials during a task.
Rough-in
The early stage of plumbing, electrical, or HVAC installation where pipes, wires, or ducts are placed inside walls before finishes are applied. This work typically requires permits and inspections.
Permit
Official approval from your local government required before certain types of home improvement work can begin. Permits ensure work is inspected for safety and code compliance.
Stud
A vertical framing member inside a wall, usually wood or metal, that provides structure. Anchoring heavy items like shelves or cabinets to studs (rather than drywall alone) prevents them from pulling out of the wall.
Your Starter Tool Kit: What You Actually Need
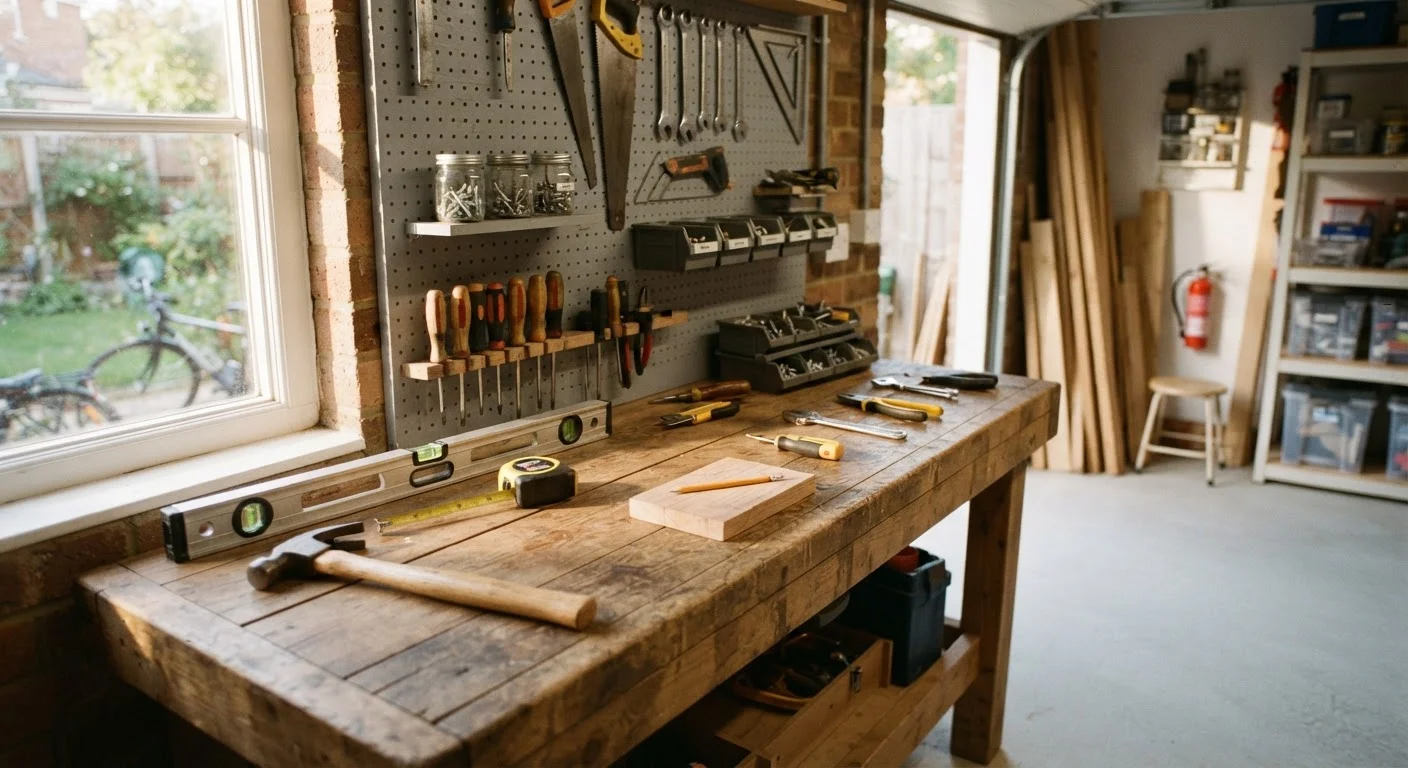
You don't need a full workshop to handle most beginner projects. A focused starter kit handles the majority of cosmetic and maintenance tasks without clutter or unnecessary expense.
- 16 oz. claw hammer - driving nails, pulling them, and light demolition
- Tape measure (25 ft.) - measuring twice before cutting once is a real rule
- Phillips and flathead screwdrivers - a multi-bit set covers most fasteners
- Utility knife - scoring drywall, opening materials, trimming caulk
- 4-foot level - hanging anything straight requires one
- Adjustable wrench - basic plumbing and hardware tasks
- Stud finder - essential before anchoring anything to walls
- Putty knife - patching holes and scraping surfaces
Power tools can come later as projects demand them. A cordless drill/driver is the first power tool worth owning - it handles screws and small drilling tasks that would otherwise take much longer by hand. Borrow or rent specialty tools before committing to purchase.
Start With One Small, Visible Win
Beginners often stall because they try to tackle too much at once. Choose a single small project - patching a nail hole, replacing a dated light fixture, or re-caulking the tub - and complete it fully before moving on. A finished result, however small, builds the confidence and judgment you'll need for larger work.
Safety Basics Before You Touch Anything
Safety habits developed early become automatic - and they prevent the injuries that send overconfident beginners to urgent care. Before any project, run through these fundamentals.
Never Skip the Utility Shutoff Step
Before starting any project near plumbing, electrical outlets, or gas appliances, locate and test the relevant shutoff. Know where your home's main water shutoff, electrical panel, and gas shutoff are before you pick up your first tool. Skipping this step is the single most common cause of preventable DIY emergencies.
Personal Protective Equipment
At minimum, wear safety glasses on any task involving cutting, drilling, or striking. Add work gloves for handling rough materials, an N95 respirator for sanding or disturbing old materials (drywall dust is a real respiratory irritant), and hearing protection for extended power tool use.
Know Your Home's Systems
Before touching any wall, ceiling, or floor, know where your main electrical panel, main water shutoff, and gas shutoff are located. Practice turning them off and on. If you're not certain which breaker controls the circuit you're working near, switch off the main breaker for that work - don't guess. Check with your local utility if you're unsure about gas shutoff procedures. For a broader look at home systems and how they interact, our home maintenance overview is a useful reference.
How to Read a Project Scope
Every project, even a small one, benefits from a written scope before work begins. A scope answers four questions: What exactly am I doing? What materials do I need? How long will it realistically take? What does done look like?
Walk through the project mentally - or physically - before touching tools. Identify every step in sequence. For example, painting a room isn't just rolling walls: it involves moving furniture, protecting floors, patching holes, priming bare spots, cutting in edges, rolling fields, and cleaning up. Skipping steps in your mental walkthrough means discovering them mid-project when you're already committed.
Build in a materials buffer. Experienced DIYers typically add 10-15% to material estimates to account for cuts, mistakes, and waste. Underbuying mid-project costs time and sometimes results in visible batch inconsistencies (paint color, flooring dye lots).
Finally, be honest about time. Most beginner projects take two to three times longer than a confident estimate. Plan for that, and you won't be living with a half-finished bathroom over a three-day weekend.
Terminology Can Feel Like a Foreign Language
Home improvement has its own vocabulary, and not knowing the terms can make planning harder. Our Homeowner's Glossary of Renovation Terms explains the most common construction and remodeling terms in plain English - a useful reference to bookmark before any project.
Knowing When to Stop and Call a Professional
Recognizing the edge of your competence is one of the most valuable skills a homeowner can develop. Some stopping points are obvious; others sneak up mid-project.
Stop Immediately If You Encounter:
- Wiring that looks burned, frayed, or unfamiliar beyond a simple fixture swap
- Any gas smell - leave the space and call your utility company
- Signs of mold behind walls or under flooring (dark staining, musty odor)
- A wall that may be load-bearing when you expected otherwise
- Pipes connected to the main supply line rather than a fixture shutoff
These situations aren't judgment calls - they involve safety systems and legal requirements that exist for good reason. Our related DIY vs. contractor framework walks through the full decision process, including how to weigh cost, risk, and permit requirements on any given project. For ongoing maintenance decisions that blur the DIY line, the DIY maintenance vs. hiring a pro guide offers a practical complement.
Starting small, staying honest about your skill level, and treating safety steps as non-negotiable - that's the foundation every capable DIYer builds on.