

Key Takeaways
Why Composting Is Worth the Effort
Composting does two things simultaneously: it diverts organic waste from the landfill and produces a soil amendment that genuinely improves your garden. Finished compost adds slow-release nutrients, feeds soil microbes, improves drainage in clay soils, and helps sandy soils retain moisture. If you garden at all - whether in raised beds, containers, or in-ground plots - a steady supply of homemade compost reduces your reliance on purchased inputs. For a deeper look at how compost compares to mulch and topsoil as amendments, see our breakdown of what each one actually does.
The process itself is forgiving. Compost happens naturally; your job is simply to create conditions that speed it up. You do not need expensive equipment or a large yard. Even a modest pile in a corner of a patio can produce usable compost within a few months. If you are planning a vegetable garden, pairing home compost with good bed prep makes a meaningful difference - our vegetable garden guide covers how to work amendments into the soil before planting.
Compost bin or designated pile area
Contains materials, retains heat, and keeps pests out during decomposition.
Garden fork or compost turner
Used to turn and aerate the pile, which speeds up breakdown.
Kitchen countertop collection bin
Collects daily food scraps in the kitchen before transferring them to the outdoor pile.
Garden hose or watering can
Used to add moisture when the pile becomes too dry.
Thermometer (compost or soil type)
Lets you monitor internal pile temperature to confirm active decomposition is occurring.
Step-by-Step: Setting Up and Running Your Compost Pile
Follow these steps to get a home compost system running from scratch. The initial setup takes less than an hour; the ongoing maintenance is minimal once you establish a routine.
What you will need
Choose and set up your composting site
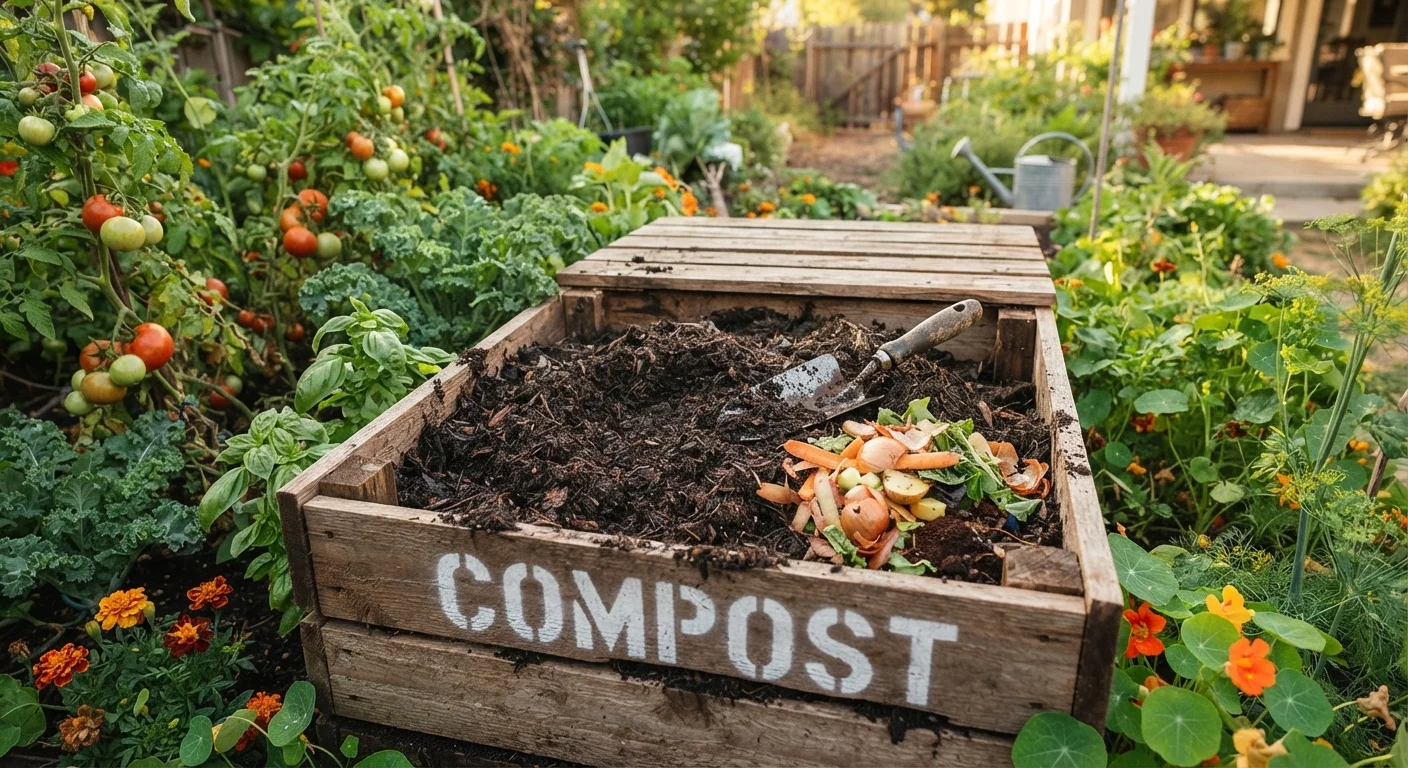
Select a spot that gets partial shade, drains well, and is reasonably convenient to your kitchen door. A location that is too sunny dries out the pile; permanent shade slows heating. Most bins are 3 feet wide by 3 feet tall - large enough to generate heat but manageable for a home gardener. You can use a purchased plastic bin, build a simple three-sided enclosure from scrap lumber or pallets, or simply designate an open pile in a corner of your yard.
Understand the 'greens and browns' balance
Composting depends on a ratio of nitrogen-rich materials (called greens) and carbon-rich materials (called browns). Greens include fruit and vegetable scraps, coffee grounds, fresh grass clippings, and plant trimmings. Browns include dried leaves, cardboard torn into small pieces, newspaper, straw, and wood chips. A commonly cited target is roughly 2-3 parts browns to 1 part greens by volume. Too many greens produce a smelly, slimy pile; too many browns slow everything down.
Build your initial pile in layers
Start with a 4-6 inch layer of coarse browns at the base - this creates airflow. Add a layer of greens on top, then alternate. Chop or shred materials before adding them when possible; smaller pieces decompose faster because they expose more surface area to microbial activity. Aim to keep the pile at least 3 feet in every dimension to generate and retain enough heat for efficient breakdown.
Maintain moisture and aeration
Check moisture weekly by squeezing a handful of material from the center of the pile. It should feel like a damp sponge - moist but not dripping. If it is too dry, water it gently and mix. If it is too wet, add more dry browns and turn the pile. Turn the entire pile every one to two weeks using a garden fork, moving material from the outside edges into the center. This reintroduces oxygen and evens out decomposition.
Troubleshoot common problems
Most compost issues come down to a simple imbalance:
- Bad odor (ammonia smell): Too many greens. Add browns and turn the pile.
- Bad odor (rotten egg smell): Pile is too wet or compacted. Add dry material and turn to reintroduce air.
- Pile not heating up: Too dry, too small, or too many browns. Add greens and water, then turn.
- Pest activity: Food scraps may be exposed on the surface. Bury fresh additions in the center of the pile and consider a bin with a lid or pest-resistant design.
Harvest and use your finished compost
Finished compost is dark brown, crumbly, and smells like fresh earth - not like the original scraps. This typically takes two to six months depending on conditions, materials, and how often you turn the pile. To harvest, stop adding new material and allow the pile to fully break down, or use a two-bin system where one bin cures while the other accepts fresh inputs. Apply finished compost as a 1-2 inch top dressing around plants, mix it into garden beds before planting, or use it to improve potting soil.
Never Compost These Materials
Avoid adding meat, fish, bones, dairy products, fats, and oils to a backyard compost pile. These attract pests and create persistent odors. Also leave out pet waste, diseased plants, and anything treated with pesticides, as these can introduce pathogens or harmful chemicals into your finished compost.
Watch Pile Moisture Levels Carefully
A pile that is too wet will turn anaerobic - meaning it breaks down without oxygen - producing a sour, rotten smell. A pile that is too dry will simply stop decomposing. Aim for the moisture level of a wrung-out sponge: damp throughout but not dripping.
Speed Things Up With a Compost Activator
Adding a shovelful of finished compost or garden soil to a new pile introduces beneficial microbes that jumpstart decomposition. You can also add used coffee grounds, which are high in nitrogen and help raise the pile's temperature quickly.
Once your garden is producing finished compost reliably, use it every spring as part of your overall yard preparation. Our spring yard prep checklist walks through where compost fits into a full season-opening routine.