

Key Takeaways
Why Caulk Deserves More Respect
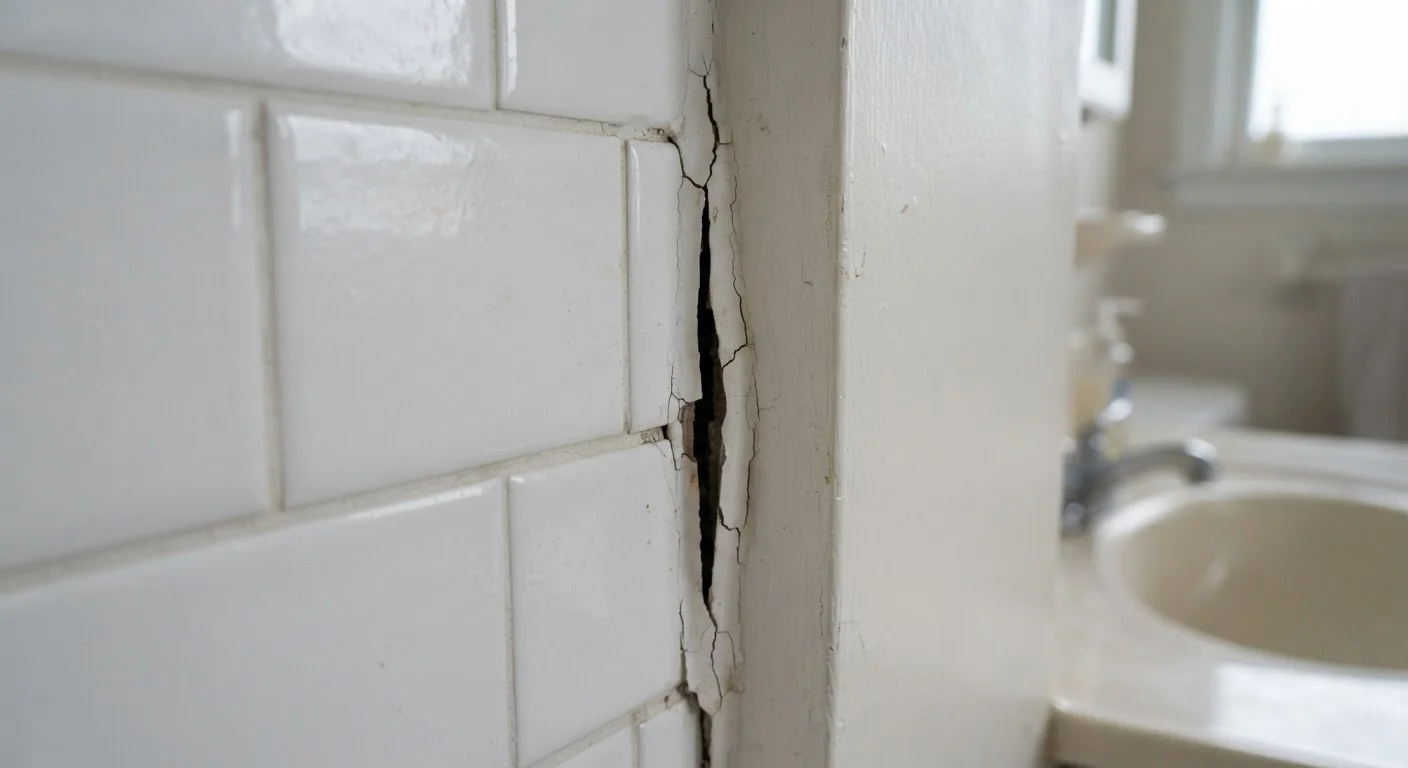
A thin bead of caulk does surprisingly heavy lifting around your home. It seals the joints between your tub and tile, around window frames, along baseboards, and at dozens of other transitions where two materials meet. When it works, you never think about it. When it fails - cracking, peeling, or growing mold within months of application - it can allow water and air to penetrate places they absolutely shouldn't.
The frustrating truth is that most caulk failure is preventable. The product itself rarely deserves the blame. Instead, the culprit is almost always a preparation shortcut or an application error made at the time of installation. Understanding exactly where things go wrong is the fastest way to get a seal that actually lasts.
For context on the broader picture of sealing your home against moisture and air infiltration, see our guide to weatherproofing your home.
Applying new caulk directly over old, failing caulk.
Why it happens: It looks faster, and the old bead seems like it could serve as a base. Most homeowners underestimate how much the old material has already lost its bond.
Caulking a surface that isn't completely dry.
Why it happens: Surfaces feel dry to the touch long before subsurface moisture has fully evaporated, especially in bathrooms that see daily use.
Using the wrong type of caulk for the location.
Why it happens: Caulk packaging can look nearly identical, and many homeowners grab whatever is on hand rather than matching the formula to the specific environment.
Skipping surface cleaning before application.
Why it happens: The joint looks clean enough visually, but soap scum, mold spores, dust, and oils are nearly invisible yet severely compromise adhesion.
Not smoothing the bead after application.
Why it happens: Many DIYers assume the caulk will settle on its own, or they smooth it unevenly and stop, leaving air pockets and uneven contact with both surfaces.
Exposing caulk to water before it has fully cured.
Why it happens: Silicone and siliconized caulks become tack-free within an hour, which leads homeowners to believe the bead is ready for use far sooner than it actually is.
How to Get a Caulk Job That Actually Lasts
Once you know the mistakes, the path to a durable caulk bead is straightforward. Start by removing every trace of the old material using a plastic scraper or purpose-made caulk remover tool, then follow up with isopropyl alcohol or a mildew-removing cleaner to wipe the joint clean. Allow at least 24 hours of drying time - longer in humid climates - before touching the new caulk.
Read the product label before you buy. Kitchens and bathrooms need 100% silicone or a siliconized latex formula rated for wet areas and mold resistance. Exterior joints need a paintable, weatherproof formula designed for temperature swings. Using a general-purpose caulk in the wrong location is a guaranteed shortcut to early failure.
Don't Ignore Mold Behind Failing Caulk
When you pull up old caulk and find dark staining or mold on the substrate beneath, do not simply recaulk over it. Mold on drywall or backer board behind a tub surround can indicate moisture has already penetrated deeper materials. Clean surface mold with an appropriate mildew remover and allow full drying, but if staining is widespread or the substrate feels soft, consult a contractor before resealing. Trapping active mold behind fresh caulk accelerates structural damage.
When you apply, cut the nozzle at a shallow 45-degree angle and keep the bead consistent - resist the urge to go back over a section multiple times, which traps air and weakens adhesion. Smooth immediately with a wet finger or a caulk-finishing tool, then leave it completely alone. Most silicone and tub-surround caulks need a full 24 to 48 hours before any water exposure, even though they feel dry to the touch within an hour or two.
If your caulk problems are paired with failing grout lines nearby, those two issues often share the same root cause. Our grout cleaning and repair guide walks through how to address both surfaces so your tile surround stays watertight long-term.