

Key Takeaways
Why Grout Fails - and What It Costs You
Grout does more than fill space between tiles. It stabilizes the tile assembly, prevents moisture from reaching the substrate beneath, and bears the constant foot traffic, thermal expansion, and cleaning that tiled surfaces endure. Because grout is porous by nature, it absorbs water, oils, and airborne particles from the moment it's installed - and without periodic maintenance, it degrades faster than most homeowners expect.
Surface staining is the earliest and most recoverable stage of grout neglect. Left untreated, staining is followed by porosity-driven moisture infiltration, then microbial growth, and eventually structural failure of the grout itself. At that point, water is no longer just discoloring the surface - it's reaching the setting bed and potentially the subfloor, where damage becomes expensive quickly. Understanding this progression is why the home maintenance principle of catching problems early applies so directly to tile care.
Stiff-bristle grout brush
Scrubs grout lines without scratching the surrounding tile surface.
pH-neutral tile cleaner or oxygen bleach
Lifts organic stains, mildew, and discoloration from grout without etching tile finishes.
Grout sealer (penetrating type)
Soaks into porous grout to resist moisture and staining after cleaning.
Grout saw or oscillating multi-tool with grout blade
Removes damaged or cracked grout cleanly without chipping adjacent tile.
Grout float
Presses new grout firmly and evenly into joints during repointing.
Sponge and bucket
Wipes away grout haze during application and cleans the surface after sealing.
Shop vacuum
Removes dust and debris from joints after grinding out old grout.
It's also worth recognizing where grout responsibilities end and caulk responsibilities begin. The flexible joints at corners, changes of plane, and tile-to-fixture transitions should never be filled with rigid grout - those areas need caulk, which accommodates movement grout cannot. If those joints are failing, our guide to why caulk fails covers that repair separately.
Cleaning, Repointing, and Sealing: The Full Process
Most grout maintenance falls into one of three categories - cleaning, repairing (called repointing when applied to tile joints), and sealing - and the order matters. Cleaning comes first so you can see the true condition of the grout beneath the staining. Repair follows where needed. Sealing comes last, after everything is clean and cured, because sealer applied over stained or damaged grout simply locks the problems in.
Assess the grout condition before starting
Walk through the tiled area in good light and look for three distinct problems: surface staining (darkened or discolored grout that is otherwise intact), cracking or crumbling joints, and missing grout. Press gently along suspect lines - sound grout feels firm. Soft, hollow-sounding, or sandy grout indicates it has failed and needs removal. This assessment determines whether you need cleaning only, sealing only, or full repointing in sections.
Deep-clean the grout lines
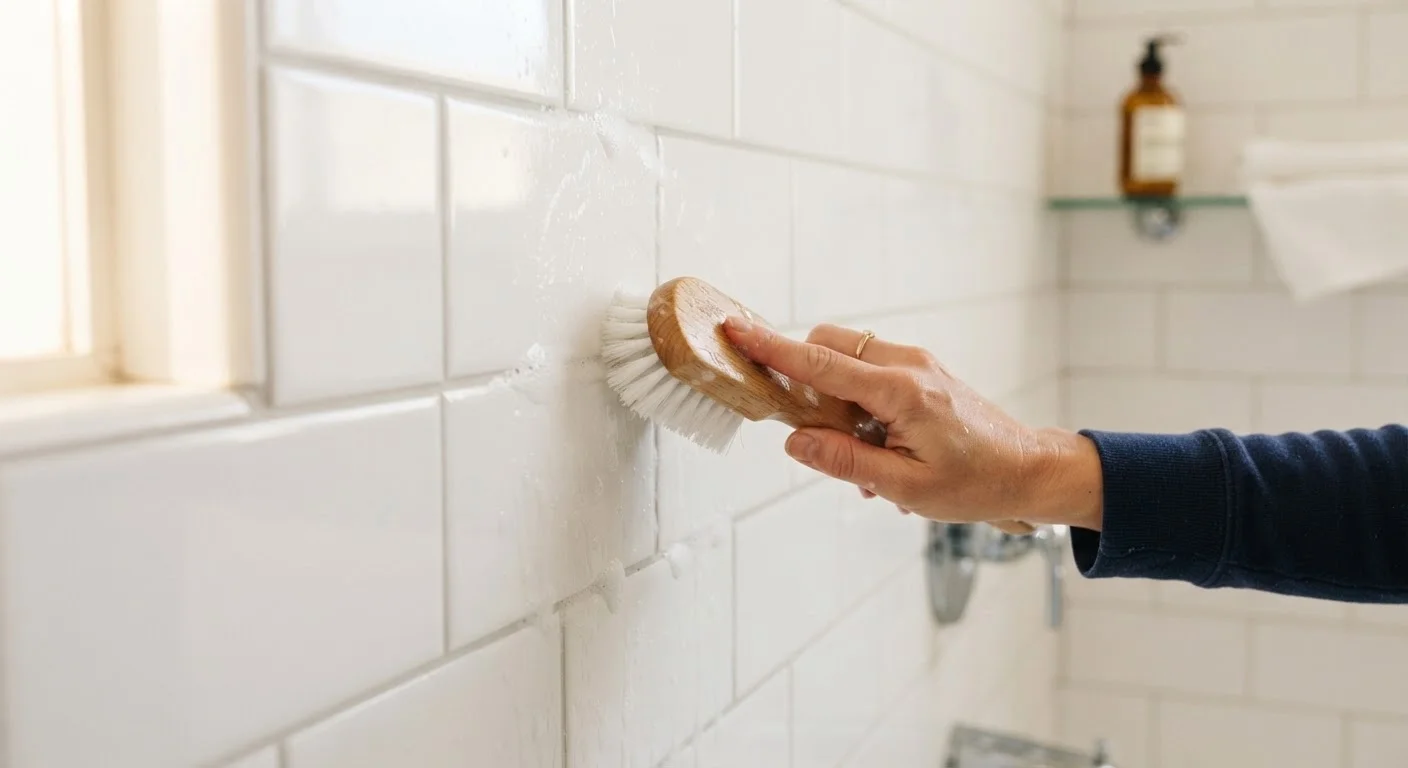
Mix an oxygen bleach solution according to the product label and apply it generously along the grout lines. Let it dwell for 10-15 minutes to penetrate organic buildup. Scrub with a stiff-bristle grout brush, working in short back-and-forth strokes directly along each joint. Rinse thoroughly with clean water and allow the surface to dry completely - at least 24 hours - before sealing or assessing for repairs.
Avoid bleach-based cleaners on colored grout or natural stone tile, as they can fade pigment or etch the surface. pH-neutral cleaners are a safer default for most tile types.
Remove damaged grout
For cracked, crumbling, or missing grout, use a manual grout saw or an oscillating multi-tool fitted with a grout removal blade to cut out the old material to a depth of at least 3mm (roughly ⅛ inch). Work carefully along the center of the joint to avoid chipping tile edges. Vacuum out all dust and loose particles - even small bits of old grout will prevent the new material from bonding properly.
Match and mix your new grout
Take a photo of your existing grout and bring a small scraping of it to a tile supply store to match the color as closely as possible. Confirm whether your original grout is sanded (used for joints wider than 1/8 inch) or unsanded (for narrower joints) - using the wrong type affects both appearance and long-term durability. Mix only as much grout as you can use in 20-30 minutes, following the manufacturer's water ratio precisely. Too much water weakens the final bond.
Apply and finish the new grout
Dampen the open joints lightly with a sponge - this slows moisture absorption and gives the grout more working time. Load the grout float and press the mixture firmly into the joints at a 45-degree angle, moving diagonally across the tile to pack the material without dragging it back out. Remove excess grout from the tile face with the edge of the float, then wait 15-20 minutes before wiping with a barely damp sponge. Rinse the sponge frequently to avoid smearing grout haze back onto the surface.
Cure, then apply a penetrating sealer
Allow new grout to cure fully - typically 48 to 72 hours, though some formulations require longer. Consult the product label. Once cured (and for existing grout that has only been cleaned), apply a penetrating grout sealer using a small applicator brush or the bottle's built-in roller tip. Work along each joint, wipe away any sealer that lands on the tile face within 5 minutes, and allow the sealer to dry according to label directions before exposing the surface to water.
Resealing Schedule Worth Keeping
Mark your calendar after each sealing session. High-traffic tiled areas like bathroom floors and kitchen backsplashes typically need resealing every 12 months. Running the water bead test annually takes under a minute and tells you exactly when the sealer has worn out so you never reseal too early or too late.
For shower and tub surrounds specifically, be thorough about inspecting the perimeter joints before sealing. These areas see the most water exposure and the most movement stress. If you notice soft tile, grout that sounds hollow when tapped, or any hint of wall flex behind the tile, stop and consult a licensed tile contractor - those are signs that water has already reached the substrate, and no amount of surface sealing will address it.
Plan to reseal grout in high-use areas - bathrooms, kitchens, entryways - approximately once a year. Lower-traffic areas like laundry rooms or utility spaces may only need resealing every two years. A simple water test tells you when it's time: drop a few beads of water on the grout. If they absorb within a few minutes rather than beading up, the sealer has worn through.