

Key Takeaways
Choosing the Right Method for Your Damage
Drywall damage falls into three general categories, and selecting the correct repair approach from the start saves both time and frustration.
- Nail pops and small holes (under ½ inch): These respond well to a lightweight spackling compound applied with a putty knife, feathered smooth, and sanded once dry.
- Medium holes (½ inch to 6 inches): Self-adhesive mesh patches or the "California patch" method (cutting a clean square and using the drywall's own paper backing as a built-in flap) work reliably here.
- Large holes (over 6 inches): These require a new piece of drywall cut to fit, secured with wooden backing boards screwed into the existing drywall on either side of the opening.
Before you start, check whether the damage is near any electrical wiring, plumbing, or HVAC ducts - particularly if the hole wasn't caused by you. If you're unsure what's behind the wall, use a stud finder that detects wiring, or probe carefully. While you're assessing the wall, it's worth noting that cracks around door frames or windows can also signal air and moisture infiltration. See our guide to weatherproofing common trouble spots for related context.
Putty knife or drywall knife set (6", 10", 12")
Used to apply and feather joint compound across repairs of varying sizes.
All-purpose joint compound
The primary filler material for covering patches, tape, and screw heads.
Self-adhesive mesh drywall tape
Bridges seams and reinforces medium-sized patches before compound is applied.
Drywall saw or jab saw
Cuts damaged drywall into a clean shape for medium and large hole repairs.
Sandpaper (120-grit and 150-grit)
Smooths dried compound between coats and prepares the surface for priming.
PVA drywall primer
Seals the porous joint compound so paint applies evenly without flashing.
Wooden furring strips or 1×3 boards
Serve as backing anchors for securing a new drywall piece in large-hole repairs.
Texture spray or texture trowel
Recreates wall texture over the patch to match the surrounding surface.
Step-by-Step Patching Instructions
Follow the steps below in sequence. Skipping a step - especially drying time - is the most common reason patches look visible after painting.
Prepare the damaged area
Remove any loose paper, crumbled gypsum, or protruding nails or screws around the damage. For nail pops, drive the nail slightly below the surface with a hammer and nail set, then drive a drywall screw 2 inches above and below it to re-secure the drywall to the stud. Sand any jagged edges smooth with 120-grit sandpaper. Wipe the area clean of dust with a dry cloth.
Apply the patch or backing
Small holes: Apply spackling compound directly with a putty knife, pressing it firmly into the hole and scraping flush with the wall surface.
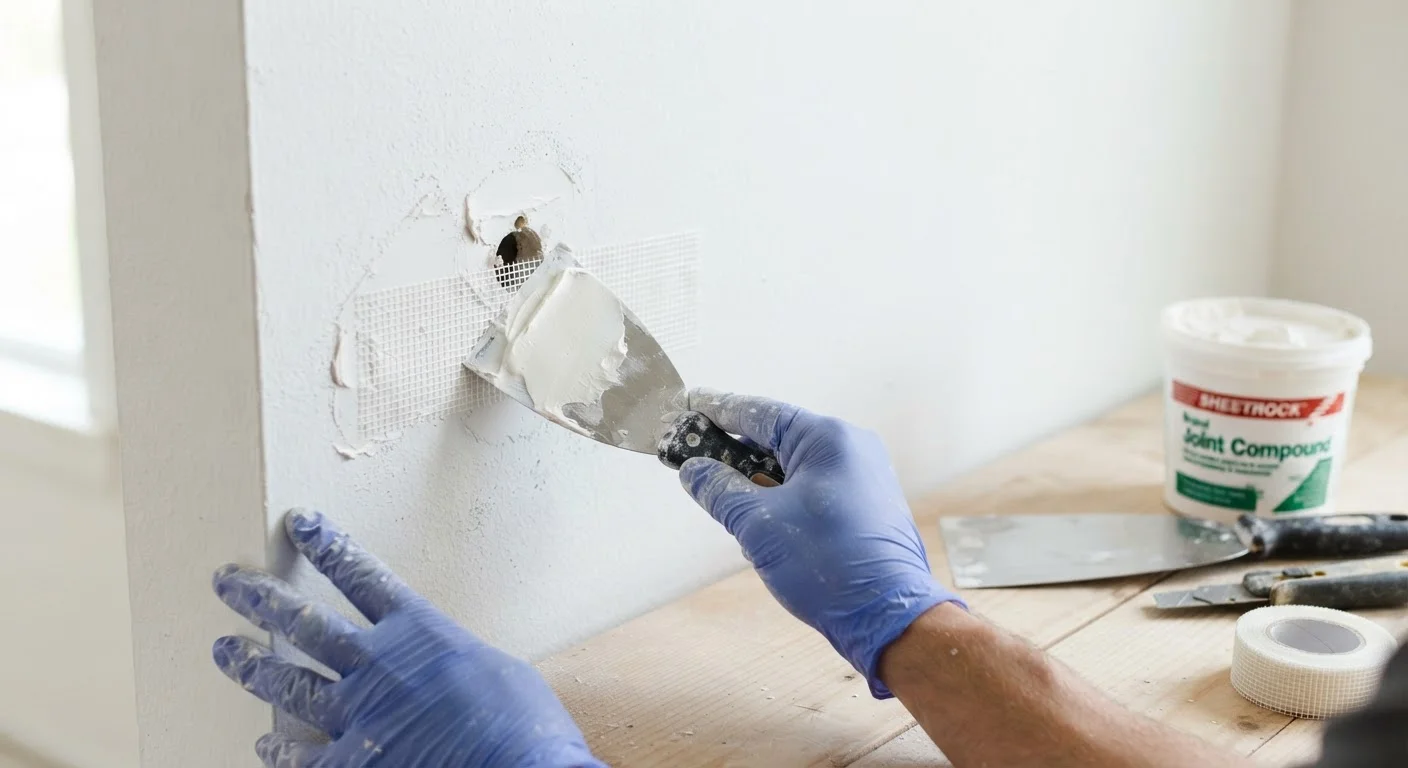
Medium holes: Center a self-adhesive mesh patch over the hole, pressing it firmly to the wall. Alternatively, use the California patch: cut a drywall square slightly larger than the hole, score the back, and snap off the gypsum while keeping the paper facing intact as a flap - then insert and secure with joint compound.
Large holes: Cut two wooden furring strips or 1×3 boards slightly longer than the hole's height. Insert them into the opening and drive drywall screws through the existing drywall into each board to anchor them as backing. Cut a new piece of drywall to fit the opening precisely, then screw it into the backing boards.
Apply the first coat of joint compound
Using a 6-inch drywall knife, apply a thin coat of all-purpose joint compound over the patch and any mesh tape or seams. For nail pops, this coat goes over the screws you drove in Step 1 as well. Feather the edges outward so the compound blends gradually into the surrounding wall - avoid building up a thick mound. Let this coat dry completely (typically 12-24 hours depending on humidity and temperature) until it turns uniformly white with no gray wet spots.
Sand, then apply additional coats
Once the first coat is fully dry, sand lightly with 120-grit sandpaper to knock down any ridges. Wipe away dust, then apply a second, slightly wider coat with a 10-inch knife, feathering it 2-3 inches beyond the first coat on all sides. Large repairs typically need three coats total, with the final coat applied using a 12-inch knife to blend as broadly as possible. Sand the final coat with 150-grit sandpaper to a smooth finish.
Prime and paint
Vacuum or wipe all sanding dust from the wall surface. Apply a coat of drywall PVA primer to the repaired area and allow it to dry per the manufacturer's directions. Once primed, paint the area to match the surrounding wall. For the most seamless result, paint the full wall panel from corner to corner rather than spot-painting the patch alone.
Don't Rush the Drying Time
Applying a second coat of joint compound over a coat that hasn't fully dried is the single most common DIY mistake. Wet compound trapped beneath a dry layer will shrink as it cures, causing cracks and bubbling that require sanding back and starting over. In humid conditions, drying can take longer than the product label suggests - when in doubt, wait.
Getting the Finish Right
A structurally sound patch that stands out visually is nearly as frustrating as the original hole. Blending the finish is where patience pays off.
Texture matching: If your walls have a knock-down, orange-peel, or skip-trowel texture, replicate it before priming. Practice your technique on a scrap piece of cardboard first. Orange-peel texture can often be recreated with a light spray of spray-texture product held at arm's length; knock-down requires a wide trowel and a subtle dabbing motion with thinned joint compound.
Priming: Always apply a coat of drywall primer (often called PVA primer) over the repaired area before painting. Joint compound is highly porous and will absorb paint unevenly, creating a dull spot - called flashing - even when the color matches perfectly.
Paint blending: Ideally, paint the entire wall panel from corner to corner rather than spot-painting the patch. Even a perfect color match can look slightly different when applied to a small section due to sheen variation and how light hits the wall. If painting the entire wall isn't practical, feather the new paint outward at least 12 inches beyond the patch.
Not every repair situation is truly DIY-friendly. If you're dealing with water-damaged drywall, widespread mold, or structural cracking, those warrant a professional assessment. Our framework for deciding when to hire a pro can help you make that call confidently.