

Key Takeaways
What You Need to Know Before You Start
Switching wireless carriers sounds complicated, but the process is mostly paperwork and timing. The biggest mistakes people make happen before they ever call a new carrier - they cancel early, overlook device locks, or underestimate what they owe on an installment plan. Getting clear on a few things upfront prevents nearly all of them.
If you've never navigated carrier terminology before, the plain-English guide to phone plans is a useful starting point. For a deeper look at what to scrutinize before signing anything, see this pre-signup checklist.
What you will need
Current carrier account credentials
Needed to retrieve your account number, transfer PIN, and confirm account details for the porting request.
Coverage map for the new carrier
Use this to verify that the new carrier provides reliable service in the areas where you spend the most time.
Unlocked or compatible device
Your phone must be compatible with the new carrier's network bands and free of any carrier lock before you can activate service.
New SIM card or eSIM profile
Physical SIM cards are typically provided by the new carrier; eSIM profiles are downloaded digitally during activation.
Step-by-Step: How to Switch Carriers and Keep Your Number
Number porting - the transfer of your existing phone number to a new carrier - is protected under FCC rules. No carrier can legally prevent you from taking your number with you. The key is following the correct sequence.
Request your transfer PIN from your current carrier
Federal rules require carriers to provide a number transfer (or porting) PIN within two business days of your request. This PIN - sometimes called a port-out PIN - is separate from your account security PIN. You can typically request it through your carrier's app, website, or customer service line. Write it down; you'll need it when activating with your new carrier.
Confirm your device is unlocked and compatible
A carrier-locked phone will not activate on another network. Contact your current carrier to confirm unlock eligibility - most carriers unlock devices once any installment balance is paid and a minimum service period is met. You can also check unlock status in your phone's cellular settings. Once unlocked, verify the phone supports the new carrier's network frequencies; the carrier's website usually lists compatible devices.
Sign up with the new carrier and initiate the port
When you activate service with your new carrier, select the option to transfer your existing number rather than getting a new one. You'll be asked for your current account number, transfer PIN, and account holder details. Submit these accurately - mismatches are the most common cause of porting delays. The new carrier submits the porting request to your current carrier on your behalf.
Keep your current service active until the port completes
This is the step most people get wrong. Do not call your current carrier to cancel service before the number port is confirmed complete. Canceling early releases your number back into the pool and you may permanently lose it. Your current service will automatically terminate once the port goes through - typically within a few hours, though complex accounts can take up to two business days.
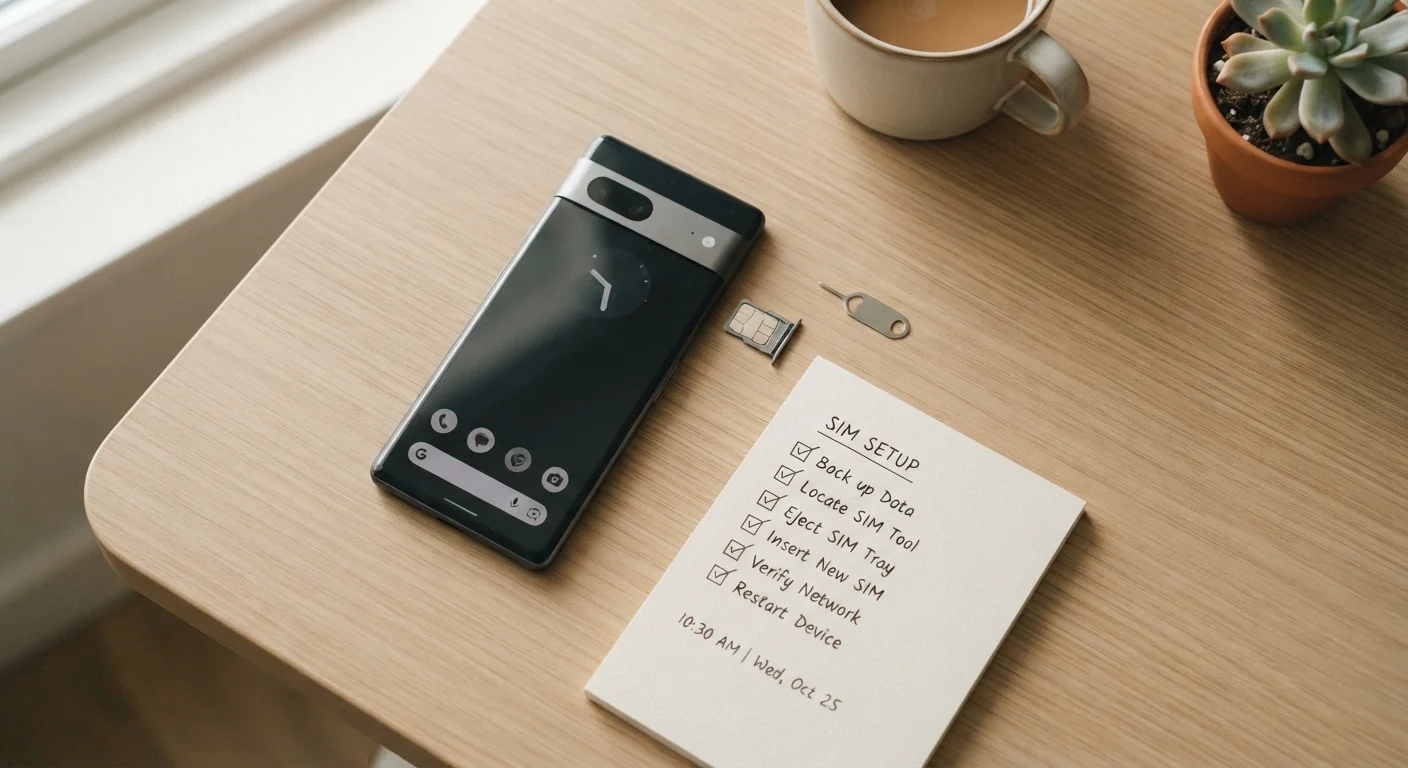
Install your new SIM or activate your eSIM
Once the port is confirmed, insert the new physical SIM card or, if your device and new carrier support it, scan the QR code to download the eSIM profile. Restart your phone. Within minutes, your existing number should be active on the new network. If the number doesn't appear active after 30 minutes, contact the new carrier's support - don't attempt to contact your old carrier to reverse anything yet.
Timing Your Switch Strategically
Switching near the end of your billing cycle can reduce your final prorated charge from the old carrier. However, don't let billing timing push you into missing a better plan window with the new carrier. The difference is rarely more than a few dollars - getting the process right matters more than shaving a small amount off your last bill.
After the Switch: What to Verify
Once your new service is active and your number has ported over, run through a quick confirmation checklist before assuming everything is complete.
- Test calls and texts from your number to confirm they route correctly.
- Check your final bill from your old carrier. You'll typically owe a prorated charge for days used in your final billing cycle.
- Confirm your old account is closed. Porting your number out usually - but not always - automatically triggers cancellation. Verify this directly.
- Review autopay settings with your new carrier to avoid a missed payment that could affect service.
If you're also moving to a new phone, the guide to setting up a new phone without losing your data walks through the data migration side. And if your new plan or device uses an eSIM rather than a physical SIM card, here's what that means practically.
One last check: revisit your new plan's actual terms once you have them in hand. Carrier marketing is often simplified. Common assumptions about unlimited plans and loyalty pricing routinely lead to surprise charges - it's worth reading the fine print before those habits take hold.