

Key Takeaways
Why Data Loss Happens - and How to Prevent It
Most people who lose data during a phone switch didn't do anything dramatically wrong - they just moved too fast. The most common scenarios: skipping the backup step, assuming the transfer completed when it only partially finished, or factory resetting the old phone before checking the new one thoroughly.
Modern phones from both Apple and Google have made the transfer process significantly more reliable over the past several years, but no automated system catches everything. Certain app data, authenticator app tokens, and locally stored files that were never backed up to the cloud can still slip through.
Back Up Before You Do Anything Else
Do not start setting up your new phone until you have confirmed a recent backup of your old device exists. If the transfer fails or something goes wrong mid-setup, a backup is your only recovery option. A backup from last week is far better than none - but one from today is best.
Understanding what transfers automatically versus what requires manual action puts you in control of the process rather than hoping for the best.
If you're also navigating a carrier switch at the same time, keep those two tasks mentally separate - see our guide on switching carriers without losing your number for that side of things. And if you're choosing a new plan as part of this upgrade, Phone Plans for First-Timers is a useful starting point.
What You'll Need Before Starting
Getting a few things in order before you power on the new phone makes the process cleaner and faster.
What you will need
Google One or iCloud Backup
Creates a complete backup of your phone's data to the cloud before you begin the transfer process.
Android's built-in 'Copy your data' setup tool
Guides Android-to-Android transfers during new device setup, including apps, contacts, and settings.
Apple's Quick Start / iPhone Migration
Handles iPhone-to-iPhone transfers wirelessly or via cable during initial iOS setup.
Move to iOS app (Android to iPhone)
Free app from Apple that transfers contacts, photos, messages, and more from Android to a new iPhone.
Transfer cable (USB-C to USB-C or USB-C to Lightning)
Enables a faster, more reliable wired transfer compared to wireless methods.
You don't need all the tools listed - the cloud backup plus your platform's built-in transfer tool covers most situations. The cable option simply gives you a faster, wired alternative.
Step-by-Step: Moving Your Data
Back up your old phone completely
Before touching the new device, create a fresh backup of your old phone.
- iPhone: Go to Settings → [your name] → iCloud → iCloud Backup and tap Back Up Now. Wait until it completes.
- Android: Go to Settings → Google → Backup and tap Back up now. Samsung devices have an additional Samsung Cloud option under Settings → Accounts and backup.
Confirm the backup timestamp shows today's date before moving on.
Gather your account credentials
You will need your Apple ID or Google account email and password during setup. Write these down or have them accessible on another device. Also note any two-factor authentication method you use - the setup process will likely trigger a verification prompt.
If you use a password manager app, confirm you can still access it independently of your old phone before you begin.
Start the new phone and choose your transfer method
Power on your new phone. Both Android and iOS present transfer options early in the setup flow - don't skip past these screens.
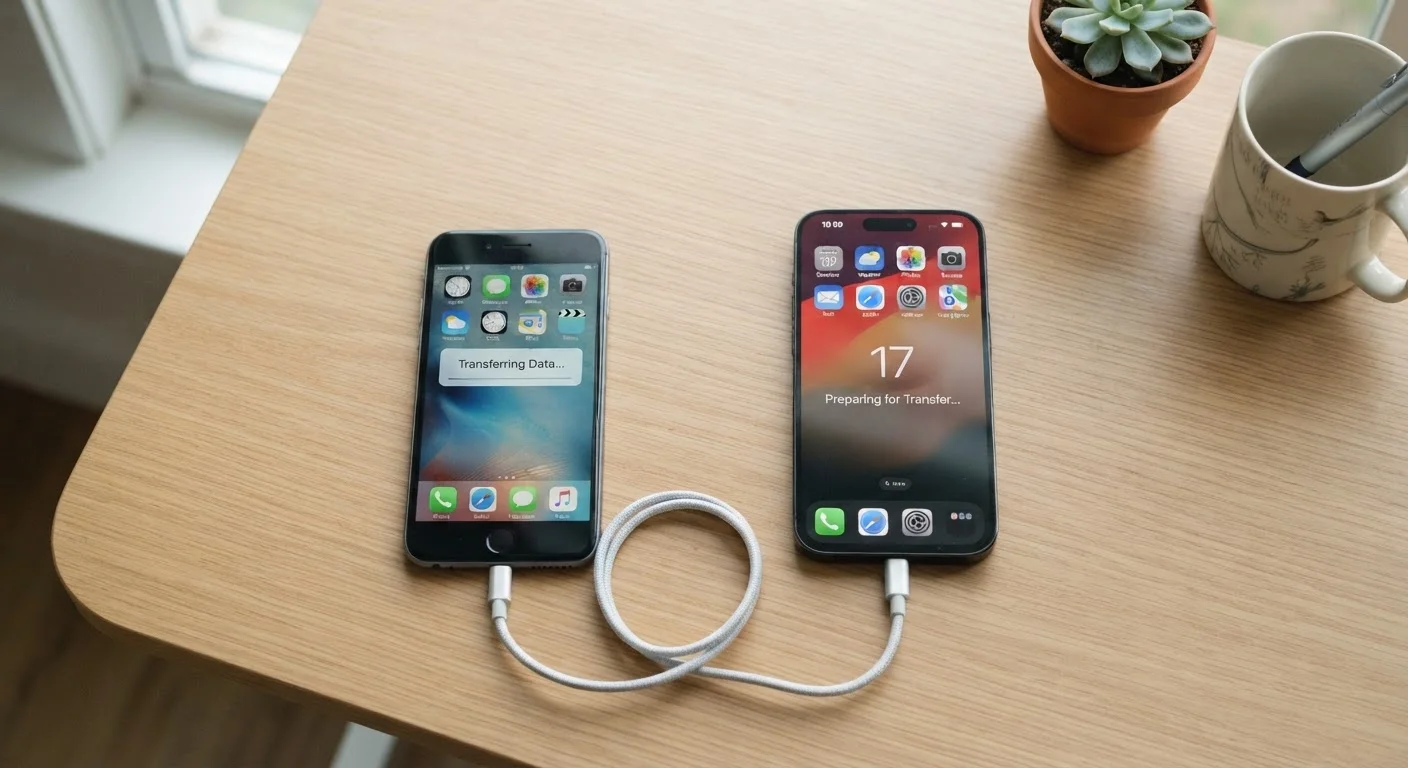
- iPhone to iPhone: Use Quick Start - place both phones near each other. Alternatively, restore from an iCloud backup during setup.
- Android to Android: Select Copy your data when prompted and connect via cable or Wi-Fi to the old device.
- Android to iPhone: Download the Move to iOS app on your old Android before starting iPhone setup. The iPhone will display a code during setup that the app uses to initiate the transfer.
- iPhone to Android: Your contacts and photos should already be in Google Contacts and Google Photos if you had those apps installed. Sign into your Google account on setup to restore them.
Let the transfer run - don't interrupt it
Depending on how much data you have, the transfer could take anywhere from a few minutes to over an hour. Keep both phones plugged into power and connected to Wi-Fi for the duration. Do not lock the screens or navigate away from the transfer screen on either device.
Large photo libraries and many apps are the most common reasons transfers take longer than expected.
Verify your data on the new phone
Once setup completes, go through this checklist before touching your old phone:
- Open Contacts - scroll through and confirm key contacts are present.
- Open Photos - check that recent photos appear. Cloud libraries may still be downloading; give it time.
- Open key apps - confirm they are installed and that you can log in.
- Check text messages - Android messages typically transfer; iMessage history transfers via iCloud backup on iPhones.
- Test your email accounts and calendar.
Handle your SIM or eSIM separately
Data transfer and SIM setup are two independent processes. Once your data is confirmed on the new phone, you need to either move your physical SIM card or transfer your eSIM to activate service.
If your new phone uses an eSIM, your carrier will walk you through the digital transfer - this is usually done through the carrier's app or a QR code. For more detail on how eSIMs work differently from physical SIMs, see our eSIM vs. physical SIM explainer.
Factory reset your old phone only after confirming everything
Once you're satisfied your new phone has everything it needs, you can safely wipe the old device.
- iPhone: Go to Settings → General → Transfer or Reset iPhone → Erase All Content and Settings.
- Android: Go to Settings → General management → Reset → Factory data reset.
This step removes all personal data from the old phone - it cannot be undone. Signing out of your Apple ID or Google account first (where prompted) is important to remove the device from activation lock systems.
Cloud Libraries Finish Syncing Later
Google Photos and iCloud Photos may not show every image immediately after transfer - they continue downloading in the background over Wi-Fi. Give the new phone several hours (or overnight) before concluding that photos are missing.
What Might Not Transfer Automatically
Even a successful transfer leaves some items to handle manually. Here's what to check:
- Two-factor authentication apps (such as Google Authenticator): These store codes locally. You'll need to migrate them manually using the app's built-in export feature - or you may need to re-enroll on each account. This is one of the most frequently overlooked steps.
- App-specific data for offline or locally stored apps: Navigation apps with offline maps, some note-taking apps, and certain games may not carry over settings or saved progress.
- Banking and financial apps: These require fresh logins on new devices by design, as a security measure. Have your credentials ready.
- Voicemails: Visual voicemail history doesn't always transfer. Check with your carrier.
Don't Wipe Your Old Phone Too Soon
Wait until you have checked that all your important data - photos, contacts, app data - is visible and working on the new device before performing a factory reset on the old one. Rushing this step is the most common cause of permanent data loss during a phone switch.
For more on evaluating what's included in your plan before committing to a device or carrier, see Before You Sign a Carrier Agreement.