

Autos & Vehicles

Pre-Purchase Inspection: What to Check Before Buying Any Used Vehicle

Share
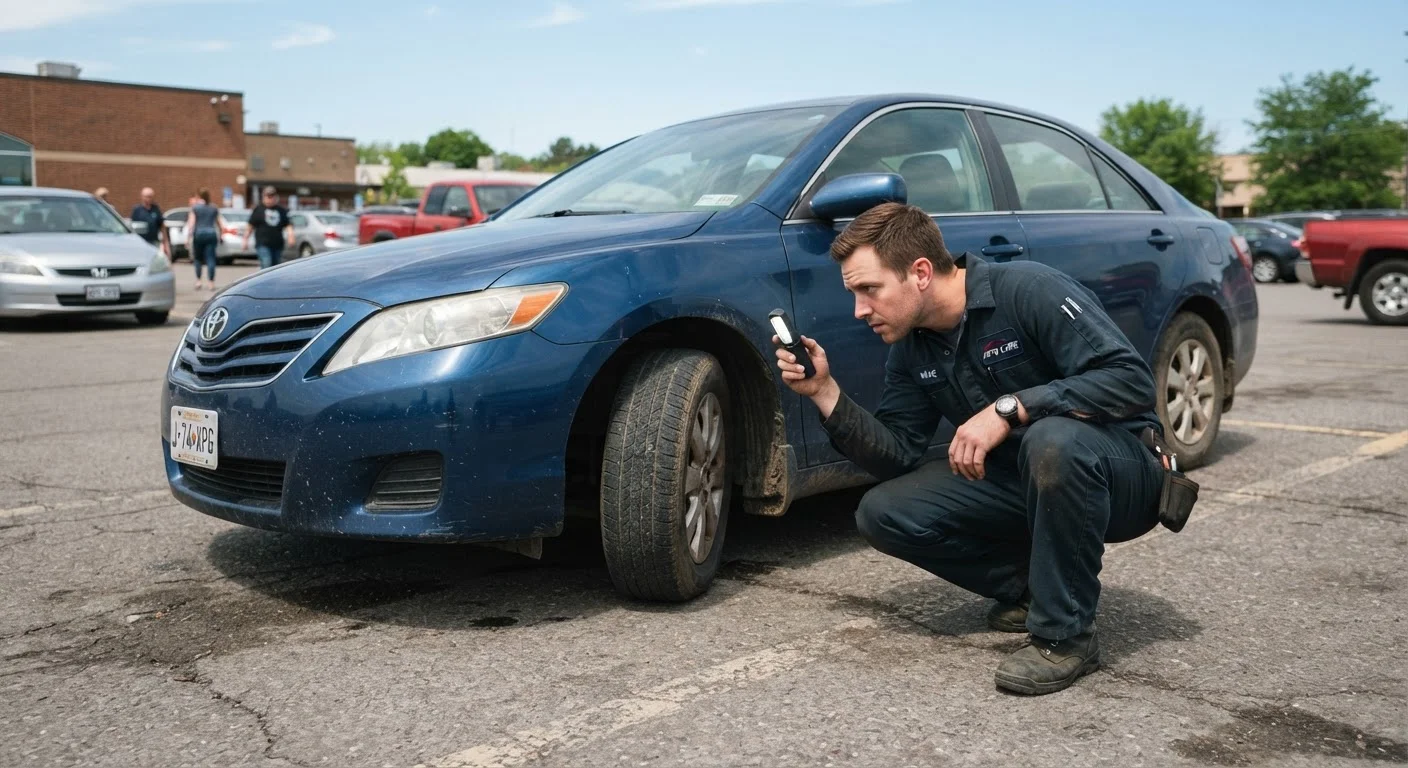
Mechanic inspecting the undercarriage of a used sedan with a flashlight in a parking lot

Key Takeaways

A pre-purchase inspection can expose mechanical, structural, and title issues that listing photos never reveal.
Always run a vehicle history report using the VIN before visiting the seller.
Test-driving the vehicle is non-negotiable — evaluate braking, steering, and unusual sounds.
Having an independent mechanic inspect the car before purchase is strongly recommended.
Rust, uneven panel gaps, and mismatched paint can indicate prior collision damage.
Never finalize a purchase without verifying the seller's name matches the title.
45–90 min

Summary

28 items · 45–90 minutes on-site, plus time to arrange a mechanic inspection

Why a Pre-Purchase Inspection Matters

A used vehicle listing tells you what the seller wants you to know. A pre-purchase inspection tells you what the car actually is. Skipping this step is one of the most common — and costly — mistakes buyers make. As we cover in our guide on things first-time car buyers frequently get wrong at the dealership, overlooking an inspection can mean inheriting thousands of dollars in repairs the moment you drive off the lot.

This checklist is designed to walk you through every major checkpoint — from paperwork to road test — so you can evaluate any used vehicle with confidence. It applies whether you're buying from a private seller, an independent lot, or a franchise dealership. If you're weighing whether to pursue a certified pre-owned vehicle instead, our comparison on certified pre-owned vs. standard used can help you decide whether that added layer of inspection is worth the price difference.

Required

VIN History Report Service

Provides accident records, title history, odometer readings, and ownership chain for the specific vehicle you're evaluating.

Required

Flashlight or Smartphone Torch

Illuminates the undercarriage, engine bay, and door jambs where natural light doesn't reach.

Required

Tread Depth Gauge

Measures remaining tire tread precisely so you can assess replacement cost and safety margin.

Required

Clean White Rag

Used to check oil condition on the dipstick and to wipe fluid reservoirs for a clear color reading.

Required

Independent Pre-Purchase Mechanic Inspection

A qualified mechanic can use a lift and diagnostic tools to assess the vehicle beyond what a visual walkthrough can reveal.

Optional

Magnet (small, covered)

Body filler used in collision repairs is non-magnetic — a weak magnet won't adhere to heavily filled panels, flagging potential prior damage.

How to Use This Checklist

Work through each group in order. Start with documents and history — there's no point evaluating the engine if the title has a lien you can't clear. Bring a smartphone for flashlight use and photos, a clean rag to check fluid condition, and wear shoes you don't mind getting dirty. Schedule your visit in daylight; artificial light makes it far too easy to miss paint defects and rust. Budget at least 45 minutes on-site, and plan for an additional off-site mechanic inspection before you finalize anything.

Never Skip the Independent Mechanic Inspection

Even if you complete every item on this checklist, a trained mechanic with a lift can identify issues that are invisible to the naked eye — including frame damage, exhaust leaks, and worn drivetrain components. Budget $100–$200 for an independent inspection before purchase. If the seller refuses to allow it, walk away.

If a seller pressures you to skip any part of this process or rushes you toward a same-day decision, treat that as a serious red flag.

Documents & History

Run a vehicle history report using the VIN to check for accidents, title issues, odometer discrepancies, and prior ownership. Must
Verify the VIN on the report matches the VIN plate on the dashboard, door jamb, and engine bay. Must
Confirm the seller's name matches the name on the title — never buy from someone who isn't on the title. Must
Check whether any liens are recorded on the title; a lienholder must be paid off before a clean title can transfer to you. Must
Review available maintenance records to assess whether routine service was performed consistently. Should

Exterior Condition

Inspect all body panels in daylight for uneven panel gaps, which can indicate prior collision repair or poor reassembly. Must
Look along the length of each panel at eye level for ripples, waves, or texture differences that suggest filler or repainting. Must
Check door, hood, and trunk edges for overspray — paint on rubber seals or trim is a sign of body work. Should
Examine the undercarriage and wheel wells with a flashlight for rust, especially along frame rails and floor pans. Must
Inspect all glass for chips, cracks, or delamination that could impair visibility or require replacement. Should

Under the Hood

Check engine oil on the dipstick — it should be amber to dark brown, not milky (which can indicate coolant mixing) or gritty. Must
Inspect the coolant reservoir for proper level and color; brown or rusty coolant signals neglected maintenance. Must
Look for oil or coolant leaks on the engine, around hoses, and on the ground beneath where the car is parked. Must
Check brake fluid, power steering fluid, and transmission fluid levels and condition where accessible. Should
Inspect the battery terminals for heavy corrosion and ask when the battery was last replaced. Should

Interior & Electrical

Test every powered function: windows, locks, mirrors, heated seats, infotainment, air conditioning, and heating. Must
Check that all dashboard warning lights illuminate at startup and then extinguish — a covered or missing bulb may be hiding a fault. Must
Inspect carpets and trunk floor for water stains, mold smell, or damp padding, which can indicate flooding history. Must
Evaluate seat condition, seatbelt operation, and airbag covers for signs of deployment or improper reinstallation. Should

Tires, Brakes & Suspension

Measure tread depth on all four tires; verify they match brand and size, as mismatched tires can signal deferred maintenance. Must
Check for uneven tread wear patterns, which can indicate alignment, suspension, or brake problems. Must
Push down firmly on each corner of the vehicle — the body should rebound once and stop, not bounce repeatedly. Should
Look through the wheel spokes at the brake rotors for deep grooves or heat cracks, and inspect visible brake pad thickness. Should

Test Drive

Drive the vehicle for at least 15–20 minutes including highway speeds, stop-and-go traffic, and a parking-lot low-speed check. Must
Listen for clunks, grinding, or vibrations during acceleration, braking, and turning — note when and where they occur. Must
Verify the vehicle tracks straight without pulling to one side when you release the steering wheel briefly on a flat road. Must
Test braking from 30–40 mph for smooth, straight stopping without pulsation, noise, or excessive pedal travel. Must

After the Inspection: Next Steps

Once you've completed your walkthrough, compile your notes before discussing price. Any issues you find — even minor ones — are legitimate negotiating points. Items that require immediate repair give you grounds to ask for a price reduction or request the seller address them before closing.

If the mechanical inspection turns up significant concerns, it's reasonable to walk away entirely. A vehicle that passes your checklist and a mechanic's review is a far sounder investment than one with unresolved red flags, regardless of how attractive the asking price appears. For ongoing maintenance once you do purchase, the car maintenance hub has practical guidance on keeping your vehicle running safely and efficiently for the long term.

Do Not Complete the Purchase Without a Clean Title

Buying a vehicle with an open lien, salvage title, or title in a name other than the seller's can leave you legally exposed and financially responsible for debts or damage that aren't yours. Always confirm the title is clean and in the seller's name before handing over any payment.

Autos & Vehicles Editorial Team is the collective byline for our editorial team and contributor network. Articles published under this byline or an editorial pen name are researched, written, and reviewed according to our editorial standards for clarity, consistency, and independence before publication.

View all articles by Autos & Vehicles Editorial Team →
Disclaimer: The content on this site is provided for informational purposes only and should not be considered a substitute for professional advice. While we strive to provide accurate and up-to-date information, we make no guarantees regarding its completeness or accuracy. Always consult a qualified professional for advice specific to your circumstances before making any decisions.